Saturday, July 16, 2022

Christmas in July Part 2


My cross stitchy neighbor, Kathy and I just uploaded our Christmas in July part @ video.  I was so excited to share Kathy's stunning Christmas samplers.  I even highlighted the one piece of Christmas cross stitch I have finished.  It's just missing the bow and miniature rolling pin on the top.  

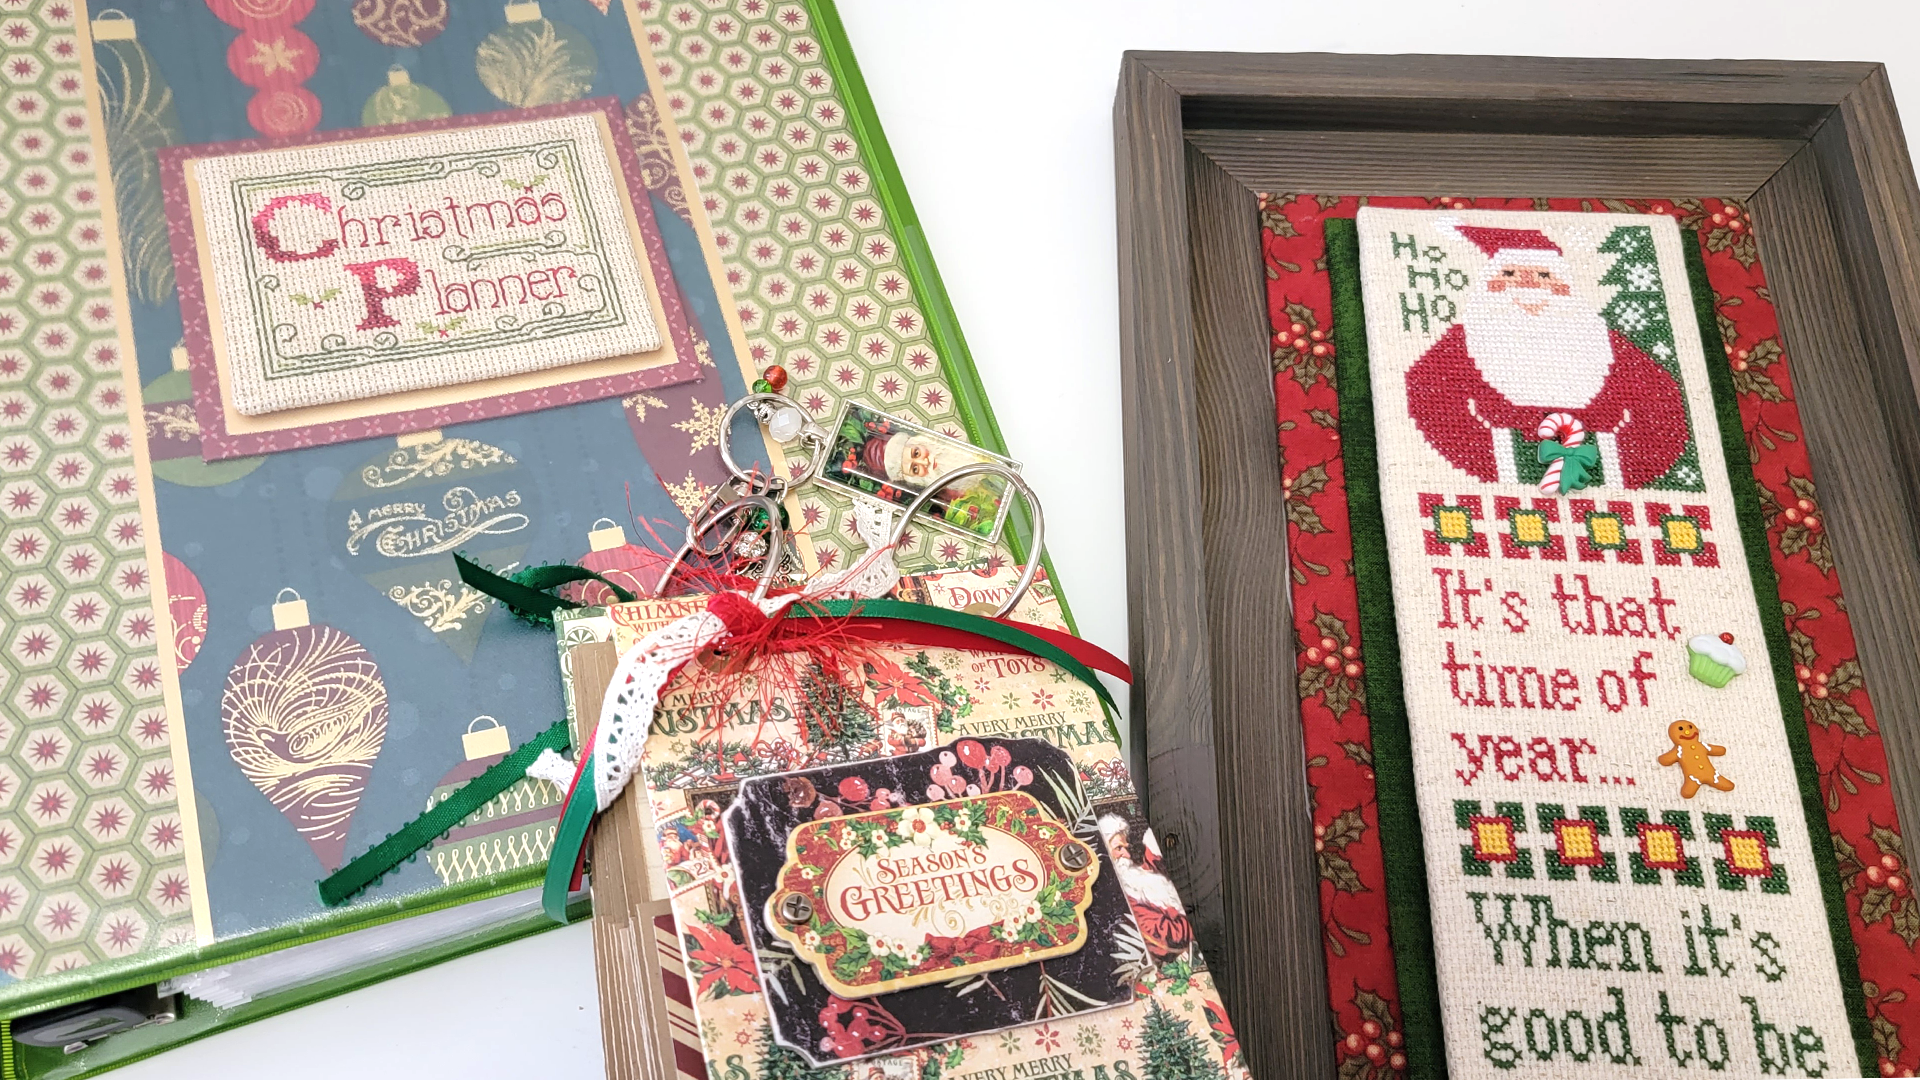
This piece was made from 2 charts I printed from the Just Cross Stitching magazine DVD I bought that has all issues from 2001 to 2010, including the Christmas ornaments issues.  I just love how the Prairie Schooler Santa fit on top of the Good to Be Fat and Jolly Quote one.  Can't wait to finish off the top and put up in my kitchen this Christmas.  

Two of the other items I shared  were the Christmas Planner Notebook I made and the little booklet, covered with Graphic 45 papers to hold my "Christmas Chart Catalogue".  

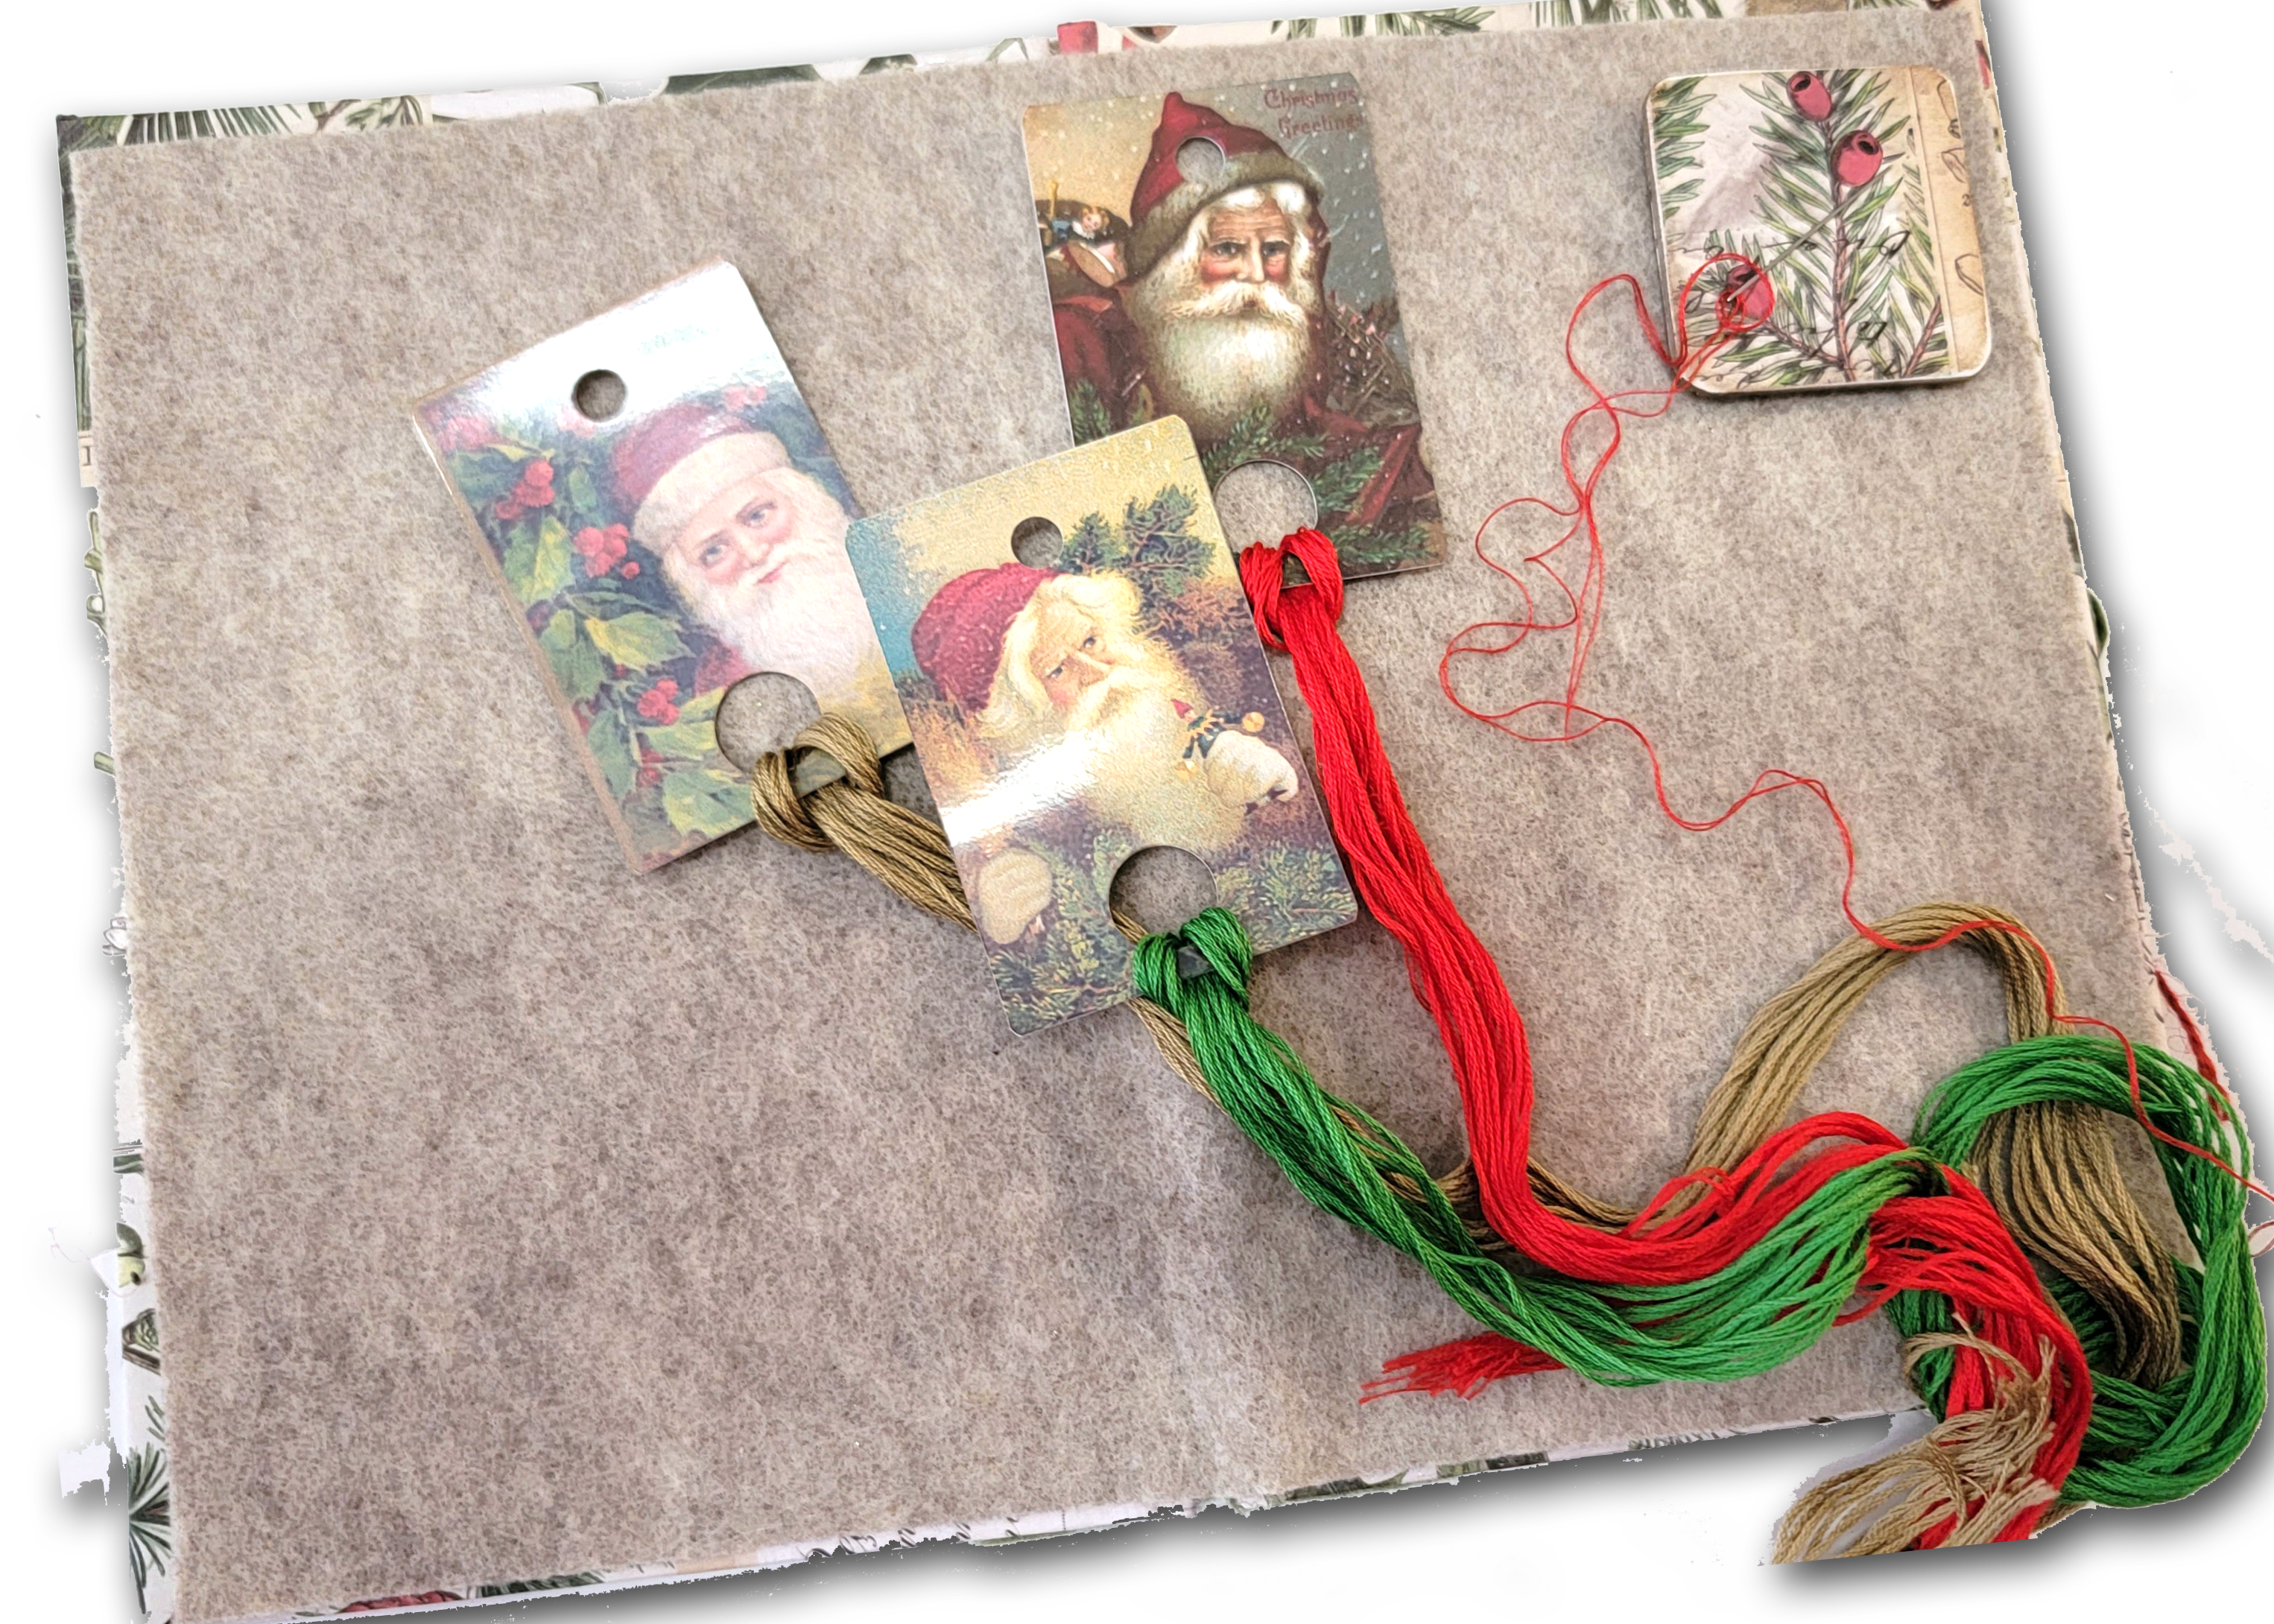
For the Chart Catalogue folder, I used the same technique shown in our Floss Book Tutorial Video to make the book.  Then I cut some "library pockets" from craft paper with my Cricut and then printed and cut some "library cards" from a pdf I downloaded.    I am loving how easy it was to make and how easy it is to use to document all the facts about the Christmas cross stitch pieces I am working on.  I plan to add small pictures of the cross stitch pieces when they are complete.  It was so much fun using some of my older Christmas scrapbook papers and stickers and things to decorate the pages. 


The Christmas Planner notebook I made was inspired by a darling "free" chart from TangledThreads andThings 

I was so delighted to find this darling chart and had to stitch it right away.  It goes perfectly with the older  K and Company scrapbook papers I was hoarding.  Even found an avocado green binder at Office Depot that matched the papers perfectly.  Don't overlook the cute Noel Pillow chart that is on the Tangled Threads and Things site.  It is so charming!


And what's a Christmas celebration without something chocolate and made with a little holiday spirit?  Kathy and I are sharing some of our favorite holiday recipes and makes with each other.  My contribution to this week's celebration was a Bacardi Rum Cake.   You can find the recipe online at the Bacardi site, just be sure you are over legal drinking age to make this oh so rich cake!

Kathy shared her Marinated Grilled Shrimp Recipe.  They were great.  I just need to figure out how to keep Kathy bringing over the delicious goodies from now on when we tape our videos.  You can find the recipe on the Freebies page of this blog. 

It was such a thrill for me to get to see just some of Kathy's favorite Christmas samplers she has stitched throughout the years.  Each one was a masterpiece.  To see more just watch our video.  

Hope you enjoy and Merry Christmas in July to you!
Molly D


Saturday, July 2, 2022

Christmas in July with Linen and Scraps Flosstube


Kathy, my incredible, crafty neighbor, and I just finished filming our latest Flosstube.  It's the first of 3 episodes of Christmas in July cross stitching and crafting.   

 I was like a kid at Christmas, in absolute awe seeing all the Christmas cross stitch "smalls" Kathy had brought to showcase.  Her needlework is beyond amazing.   

The amount of love and details she stitches into each piece is just spectacular.   

Pictured here is a Gingerbread House she made a few years past.  Just image the joy and wonder these gorgeous pieces bring to her beautiful grandchildren when they see her home filled with this magic at Christmas!


The flosstube video we filmed is chock a block full of these creations, and so much more.

Be sure to watch the full video for our Christmas in July ideas.   I even showed some little project pouches I created with some "stitchy" sayings  and cute Vintage Santa "floss drops" I made.  

Yes, I am definitely loving my refound  craft of needle, thread and fabric crafting.  And am just thrilled to mix it with papercrafting ideas.  


We even had a recipe exchange between the two of us.  Kathy shared  her delicious Butter Pecan Fudge recipe and I made Aunt Mamie's Pecan Pie Mini Muffins.  

Between the two of us, just image how much butter and brown sugar was enjoyed!  

We shared the recipes for both on the Freebies page on this blog.  Just click the link to the Freebies page on the left and it will take you to that page. 


The video was filled to overflowing with cross stitch patterns, up close looks at all of Kathy's  smalls and so so so much more.  

Hope you enjoy!

Hugs, 

Molly D


Saturday, June 25, 2022

Cross Stitching "Thread Beds"


Just a bit over six months ago, I wasn't cross stitching.  I had cross stitched over 30 years ago, but had fallen in love with scrapbooking and that became my craft of choice.   That was until my husband and I moved to El Paso, Tx.  We love it here and one of my favorite things about our new home in El Paso is meeting and becoming crafting buddies with our new neighbor, Kathleen Born.  

Now Kathleen is an expert cross stitcher.  She has completed hundreds of beautiful samplers over her years of cross stitching, but had not done much with paper crafts.  And that's how "Linen and Scraps" came to be.  

Kathy fell in love with paper crafting and I started back into cross stitching.  And like any new craft field, I learned there was a whole new language to learn.  What was a WIP,  a FFO, a floss drop or even a thread bed.  Kathy quickly caught me up to speed and laughs every time she reminds me  how fast I "fell down the rabbit hole" into this wonderful world of needlework.  So she and I decided to start a Youtube "Flosstube" channel together to highlight our combined crafts of cross stitching and paper crafts.  Kathy came up with the name Linen and Scraps.  Perfect for the two of us. 

And about learning the lingo of cross stitching....that brings us to the two of us using papers from my scrapbook stash to create things we could use with our cross stitching.  I love the Floss Books we made first. I am also loving creating floss drops to use with all the different projects, WIP's (works in progress) I have going.  The ones pictured with the thread bed are using beautiful Santas from vintage postcards.  Perfect for all the Christmas colors.   And now we have created some darling thread beds.  We even did a video on how we made them.

 We are planning a Christmas in July Flosstube series, so I decided to make a handsome holly and pine one using Simple Stories papers I had in my stash.  Added  few pine cone charms I have had for years, a bit of twine and I just love it.  I even designed a little magnetic needle minder to corodinate with it.    If you would like to know how easy it is to make yourself one, just click on the video link above.  Kathy shows you how she makes hers and then I show you how I made mine.  

I mentioned Floss Books.. if you would like to see how we made those, here's the link to that video:


                                                          https://youtu.be/o4VhxmVywgs

I hope you enjoy.

Happy crafting,
Molly D

Sunday, October 3, 2021

A Few Fall Craft Ideas

It all started with finding a new group of friends that sew.  Since moving to El Paso, I have been blessed to find a wonderful, welcoming group of ladies that have a sewing and crafting group.  For our October meeting  we are going to be making a Halloween table runner.  I couldn't wait.  Yes, I did buy some beautiful fabric to bring to the meeting and make my table runner  during the meeting, but while shopping I found some gorgeous and grungy Tim Holtz fabric. 

I had looked on Pinterest to get ideas for fall table runners and came across one that was done with pumpkin appliques, in solid fabrics.  Now anyone who knows me, knows I love mixing prints and textures, so when I saw Tim's new fabric line from a company called Free Spirit, I was truly inspired.  Using different prints from his Abandoned line I had so much fun creating this new little table runner.  
  
Of course in full fall swing, I pulled out the fall decor I had and got busy decorating around the house.  Can you tell I love mixing turquoise with fall colors.    I used Metallic Gilding Polish and Glitter Kiss Polish from Creative Expressions to color some of the leaves a gorgeous turquoise. 
It's hard to see in the pictures, but I also added a hint of gold glitter polish to several of the leaves, just to have an extra bit of sparkle.  
Next up - Scrapbook pages.  And what other papers  did you think I would use but ones from a kit by Anna Griffin.   The paper embellishments on this layout were from Anna's kit.  The flowers are from Prima and the jeweled pieces are old old old Tiffany's Treasures I had in my stash from Petaloo.


On this more spooky one I used a few of my mica sprays from Lindy's Stamp gang in Hag's Wart Orange and another orange to give the two spider ephemera a bit of a blood splattered look.  Then I inked the edge with Golden Glow Opal Polish from Creative Expression. It gives it just a rich gilded look.  Along with the paper embellishments from Anna's kit I used a very old set of shaker stickers of old apothecary jars.  I knew I had held onto those stickers for a good reason.   Just waiting to use on these very spooky pages.

Continuing to play with fall ideas, I have created some themed card kits.  The top two Hello cards are using some vintage Stampin' Up! papers and dies I have.  And again, I lightly swiped some gold gilding polish on the basket weave embossed kraft layer on one of the cards. 


 I had so much fun designing the pumpkin shaped card on my Cricut.  The finished size of that card is 5" by 7", making it a perfect fit for a standard A7 envelope.

The Gnome and pumpkin artwork for the second card are some commercial designs I bought from Design Bundles.  So easy to use with the Cricut Print and Cut feature.  It's a great site for designer graphics and fonts. 

I hope you enjoyed seeing some of the things I have been working on for fall.  I know how much I love seeing all the creative projects shared on Pinterest and the web from so many others.  Hope I get to see some of your fall projects.  Please feel free to share a picture in the comments.

Happy Fall everyone,
Molly D

Wednesday, January 6, 2021

Pantone Color of the Year 2021 - My New Favorites!


Well here's a very bright new spot for 2021.  Pantone's new "Colors" of the Year.  Yes, they picked two for this exciting new year.  And I must say...I love them.  


I am working on several new layouts and a couple of cute new mini album kits.  It took me a while to get motivated to get crafting again.  But after six looooong months of being in a slump...I am rip roaring ready to get creative again.  

And Pantone hit it on the nose for me with this exhilarating color combination.  And the quote they have put to the picture is just perfect!  Thank you, Pantone.  

Here's to a wonderful new year to everyone.  


Wednesday, December 2, 2020

Anna Griffin Holiday Home Decor Frames

AnnGriffin.com


Any one who knows me, knows I love Anna Griffin products.  To be able to enjoy some of my favorite embellishments and papers from Anna, instead of using in scrapbooking layouts and cards, I decided to make some holiday home decor pieces to start a quick bit of decorating that would let me enjoy my Anna things throughout the season.  

The first piece I made was this 12" by 12" framed collage.  The background features one of Anna's gorgeous foiled plaids in vibrant red and green.  Then I used her matte gold foil paper to make a background layer, topped off with a stunning foiled striped paper. 
The smaller pieces of gold on top were embossed and then combined with red and green layers to complete the "patchwork" layers.  Then my favorite part was picking just a few of my favorite embellishments from some of Anna's Holiday card making kits I have collected over the years.  

The gold snowflake Dresden pieces add such a richness to the overall look.  I am so happy to be able to see these beauties out in my home everyday of the holiday season.  This piece inspired my to make a few more pieces using inexpensive frames, made beautiful with Anna's style.


This simple piece was made using some of the new Anna Griffin foiled holiday cardstock teamed with some ornaments I have hoarded from a past card kit.    I just love how it turned out.  These pictures don't do these papers justice. They are absolutely stunning. Anna Griffin's gold matte cardstock is my favorite paper for die cutting, embossing and using as layers in scrapbooking.  


The third piece, again uses one of Anna's Holiday Plaid papers.  It was so easy to make this beautiful reminder to "celebrate the Season".   The gorgeous Christmas botanicals are pieces I have hoarded over the years, teamed up with new pieces from this holiday season's botanical collection.

Now to just add some stringed lights and a bit of greenery and I can officially say I have started decorating for this holiday season.

Happiest of Holidays to you and yours,

Molly D


Thursday, August 20, 2020

WOW! Fall and Christmas Card Swap Video Share

Was so excited to share the gorgeous cards I received from the WOW Nola Creations Team Holiday Swap.  My Stampin' Up! team leader, Susan Levasseur, hosted this swap for the  Stampin' Up! demonstrators on her team and WOW is really the word.

Just Click the Image below to see the video of all the incredible cards.  I am sure there are some beautiful ideas you are going to want to copy or at least be inspired by.  


Click Picture above to see video


Hope you enjoy!
Hugs, 
Molly D

Saturday, August 15, 2020

Fall Card Kit Class to Go


Love of Leaves Card Class to Go

This new class is one I'm sure you will "fall" in love with. Featuring the new Love of Leaves Bundle and the bits of the beautiful Gilded Autumn Designer Series Paper.


The Love of Leaves Bundle has fast become one of my favorites. The stitching detail on the leaves is just such a wonderful touch. And the watercolor look of the leaf stamps give your projects a rich look, so reminiscent of the changing colors of fall. 

And speaking of water coloring, one of the card kits will include precut leaves from watercolor paper, so you can do the "smooshing technique to color your leaves

I think you will really enjoy the shimmer of the Artistry in Bloom Sequins, so I will be adding a whole package, FREE in your class kit. The rich iridescent colors just speak the colors of the changing leaves.

So how do you get your hands on one of these Class to Go Kits?

 Options #1 -

All you have to do is purchase the

Love of Leaves bundle and Gilded Autumn Paper

from my online store using the:

Hostess Code: BTUEMEDK

and I will mail you the Class kits and your FREE gift of the Artistry in Bloom Adhesive Backed Sequins. (Links to product are provided below.)

 If you already own the Love of Leaves bundle, but still want the Class Kit, you have two options:

 Options #2

Place any order of $65 of products or more, using the Hostess Code BTUEMEDK, before August, 31, 2020 and I will send you the Class Kits and Free Gift!

 Option #3

You can buy the Class Kit from me for just $25 plus $5 shipping.

Just contact me@ molly downing@hotmail.com to place your order and once your invoice is paid, I will mail your Class Kit.

 Here are most of the supplies I used,

but remember to be eligible for the Class Kit, you just need to order

the Love of Leaves Bundle and the Gilded Autumn Specialty Designer Series Paper.


Product List

Wednesday, August 5, 2020

New and Oh So Exciting! Stampin' Up! Up New Online Store


So exciting.  A brand new Stampin' Up! Online Store is launching August 4, 2020.  Just in time to showcase the fun and overflowing new mini catalog.  

What to look for  in the new store and what you need to know to get started:

#1:  You need your login email and your current password.  You will have to enter these into the new store system to gain access.    

#2:  The new site is designed to work seamlessly on desktops, tablets and mobile phones.  So you can be inspired wherever you are.

#3:  New sorting options, larger images and shopping cart options make it an up to the minute shopping experience for you.

#4:  A brand new Wish List creator.  Perfect for you to mark items you might want for upcoming projects.  Or even more fun to drop hints to your friends and loved ones for gift ideas you are sure to love!

#5:  You'll see a picture of me, if you have selected me as your demonstrator, at checkout.  Or you can select the demonstrator you want for each purchase and then your most recent ones will come as selections for you at checkout.  Just confirm which demonstrator you want for each order and confirm at checkout.  If you are using a HOST CODE with your purchase, then the demonstrator will be automatically selected from that code.    You can easily find and select me by my name, Molly Downing, or by my location, Lake Charles, LA 70605.  

Want to get started shopping now or take a look around the new site?  Just click HERE.

I know you are going to love the new site and most of all every beautiful, fun new thing in the shop.  From everyday, fall, Halloween, winter and Christmas, all the choices are just meant to bring out the creative spark in you!

Here's a special gift I will send you with any order you place with me in my new store:

Offer good from August 5, 2020 to August 25, 2020. 
(If your order is over $150, do not use the hostess code, so you can take advantage of the Rewards for yourself and I will still send you the free gift! )

Have fun shopping around and being inspired by all the new bundles and ideas.  And be sure to take advantage of this great offer!

Wednesday, March 25, 2020

Card Making with Stampin Up's New Ornate Garden coming April 1!

Hello, everyone!   I know we are all under some levels of stress, doing our parts to fight this Covid-19 outbreak.  But here's a great idea to entertain you and get your creative juices going...create hand crafted cards and mail out to all your friends and family.  And don't forget to leave one in the mailbox for your sweet mail person or one for your delivery drivers. If you're like me UPS and Fedex are helping keeping me safe by keeping me home.  

And  Stampin'  Up! is launching a beautiful new Suite...a super suite...showcasing and available April 1, 2020 that will be perfect to brighten everyone's day.  It's called Ornate Garden.  

As a demonstrator I was lucky to be able to order earlier, and have been having a wonderful day, crafting with all the beautiful products from this set.  Here are a few cards I was able to create, highlighting many of the dies and stamps from the new Ornate Garden Suite.  Plus, I pulled out some of my other favorite papers and stamps to add to the fun.  

No, you don't have to buy the whole suite, but it is jammed packed with every item that coordinates to maximize the beauty of this Ornate Garden collection. 

You will be able to order the entire Suite, or just the pieces that you would like to get started with on April 1 thru my Stampin' Up! store HERE Just a reminder, if you order anything thru my Stampin' Up! store, I will be sending you a special thank you gift for your order.  


But, while you have a minute or two to relax and get to crafting, here are some close ups of the cards I created with the new items and lots from my Stampin' Up! stash.  I used our Whisper White cardstock for the base layer to create a top fold, 5 1/2" wide by 4 1/4" tall card.   Then layered on a 5 3/8" by 4 1/8" print from our Woven Threads Designer Paper.  The white die cut layer is using one of the new Ornate Garden dies.  The Hello There  is from the I Say Hello stamp set. ( I used a mask to keep the little box that comes on the "hello there" stamp from getting inked.)

I stamped the large floral from the set onto Whisper White paper with Versamark ink and then heat embossed with Gold Powder.  With a water brush and my Stampin Up inks, I just colored between the lines to create this large focus piece.  Yes, I fussy cut out the image, but it it is so large it was super easy. 

This next three are all made with side folding card bases that are 4 1/4" wide by 5 1/2" tall.   This Thanks ever so much one uses a piece of 2019-2021 six inch by six inch Designer Paper fresh Terra Cotta Tile Check and another of the dies from the new suite.   The soft bow was made using some of the ribbon from the Ornate Garden suite, too.  The Thanks ever so much sentiment is from one of the new sets, coming out April 1, 2020.  


Once again, I used a 4" wide by 5 1/4" tall piece of the Woven Threads Designer Paper for one of the layers, placing it over a 4 1/8" by 5 3/8" piece of Seaside Spray Cardstock .  Another small piece of 2019-2021 Six by Six inch Designer Series Paper, cut to just 2" by 3/12"  was layered under one of the new dies.  This watercolor floral piece was made by stamping with Versamark on Whisper White, then heat embossing with whitre embossing powder.  Yes , it was a little tricky, coloring between these lines.  but I loved the soft look it gives. 


And lastly, I created this card using some of the upcoming Designer Series Paper from the new Ornate Garden Suite.  Both sides of each of the 12" by 12" papers are just stunning.  But I have to admit the Mint Macaron gold foiled paper used on this card is one of my favorites.  

The Leaves are made with one of my favorite punches, from more of the 6' by 6" Designer series papers. This one is Old Olive from the Regals 6" by 6" Designer Series Paper.  The darling daisies are made with the Medium Daisy Punch.  And those fuzzy centers are Perennial Essence Flower Centers.  They add such a lifelike look to these flowers.   I just love using them.  The "you are Amazing" sentiment is from the Band Together Bundle.  This is a gorgeous set that also has some beautiful dies.  

Hope you enjoyed seeing what I've been playing with lately.  And please don't hesitate to leave a comment and let me know what you are doing to keep busy during this stay at home time.  

I hope you all are staying safe, and creating loads of beautiful memories.  

Hugs,
Molly D