Showing posts with label Cricut Explore. Show all posts

Sunday, October 3, 2021

A Few Fall Craft Ideas

It all started with finding a new group of friends that sew.  Since moving to El Paso, I have been blessed to find a wonderful, welcoming group of ladies that have a sewing and crafting group.  For our October meeting  we are going to be making a Halloween table runner.  I couldn't wait.  Yes, I did buy some beautiful fabric to bring to the meeting and make my table runner  during the meeting, but while shopping I found some gorgeous and grungy Tim Holtz fabric. 

I had looked on Pinterest to get ideas for fall table runners and came across one that was done with pumpkin appliques, in solid fabrics.  Now anyone who knows me, knows I love mixing prints and textures, so when I saw Tim's new fabric line from a company called Free Spirit, I was truly inspired.  Using different prints from his Abandoned line I had so much fun creating this new little table runner.  
  
Of course in full fall swing, I pulled out the fall decor I had and got busy decorating around the house.  Can you tell I love mixing turquoise with fall colors.    I used Metallic Gilding Polish and Glitter Kiss Polish from Creative Expressions to color some of the leaves a gorgeous turquoise. 
It's hard to see in the pictures, but I also added a hint of gold glitter polish to several of the leaves, just to have an extra bit of sparkle.  
Next up - Scrapbook pages.  And what other papers  did you think I would use but ones from a kit by Anna Griffin.   The paper embellishments on this layout were from Anna's kit.  The flowers are from Prima and the jeweled pieces are old old old Tiffany's Treasures I had in my stash from Petaloo.


On this more spooky one I used a few of my mica sprays from Lindy's Stamp gang in Hag's Wart Orange and another orange to give the two spider ephemera a bit of a blood splattered look.  Then I inked the edge with Golden Glow Opal Polish from Creative Expression. It gives it just a rich gilded look.  Along with the paper embellishments from Anna's kit I used a very old set of shaker stickers of old apothecary jars.  I knew I had held onto those stickers for a good reason.   Just waiting to use on these very spooky pages.

Continuing to play with fall ideas, I have created some themed card kits.  The top two Hello cards are using some vintage Stampin' Up! papers and dies I have.  And again, I lightly swiped some gold gilding polish on the basket weave embossed kraft layer on one of the cards. 


 I had so much fun designing the pumpkin shaped card on my Cricut.  The finished size of that card is 5" by 7", making it a perfect fit for a standard A7 envelope.

The Gnome and pumpkin artwork for the second card are some commercial designs I bought from Design Bundles.  So easy to use with the Cricut Print and Cut feature.  It's a great site for designer graphics and fonts. 

I hope you enjoyed seeing some of the things I have been working on for fall.  I know how much I love seeing all the creative projects shared on Pinterest and the web from so many others.  Hope I get to see some of your fall projects.  Please feel free to share a picture in the comments.

Happy Fall everyone,
Molly D

Sunday, March 10, 2019

Easy Foiling HOW TO's with the WRMK Foil Quill and Cricut

I am over the moon excited to be playing with my new We R Memory Keepers Foil Quill.  It is so easy to use and the results are just amazing! 

 I just created and couldn't wait  to share MY Foil Quill Video showing you how I made some card sentiments. 

I bought mine on the 24 hour crafting day on HSN.  They had a great price of just under $60 for the whole set.  The MSRP is $99.  With the kit, you receive the 3 different size foiling heat stylus', the adapters for your cutting machine and even some foil and low tack tape to get you started.   You can buy the different size heat pens separately, additional foil colors   and even some USB sets of artwork from WRMK.  But remember, the foiling stylus goes in place of your writing pen on your machine, so you can literally foil anything you can draw with your machine!  

The video tells you most all you need to know to get started.  I will be trying the pen out on some other heat transfer foils I have and can't wait to see what happens.  but I couldn't wait to share this with you asap.  

 I can't wait to experiment more and make layout embellisments and foil some other print and cuts.  The possibilites seem endless. 

Hope you enjoy and let me know what you think of WRMK's latest tool!
hugs, 
MOLLY D


Wednesday, December 9, 2015

Easy Christmas Shaker Ornament Tutorial Share


Wanted to share this oh so easy Christmas Shaker Ornament tutorial I found. The link to xannero1's wonderful tutorial is on my video where I showed the ornaments I made from the inspiration. 

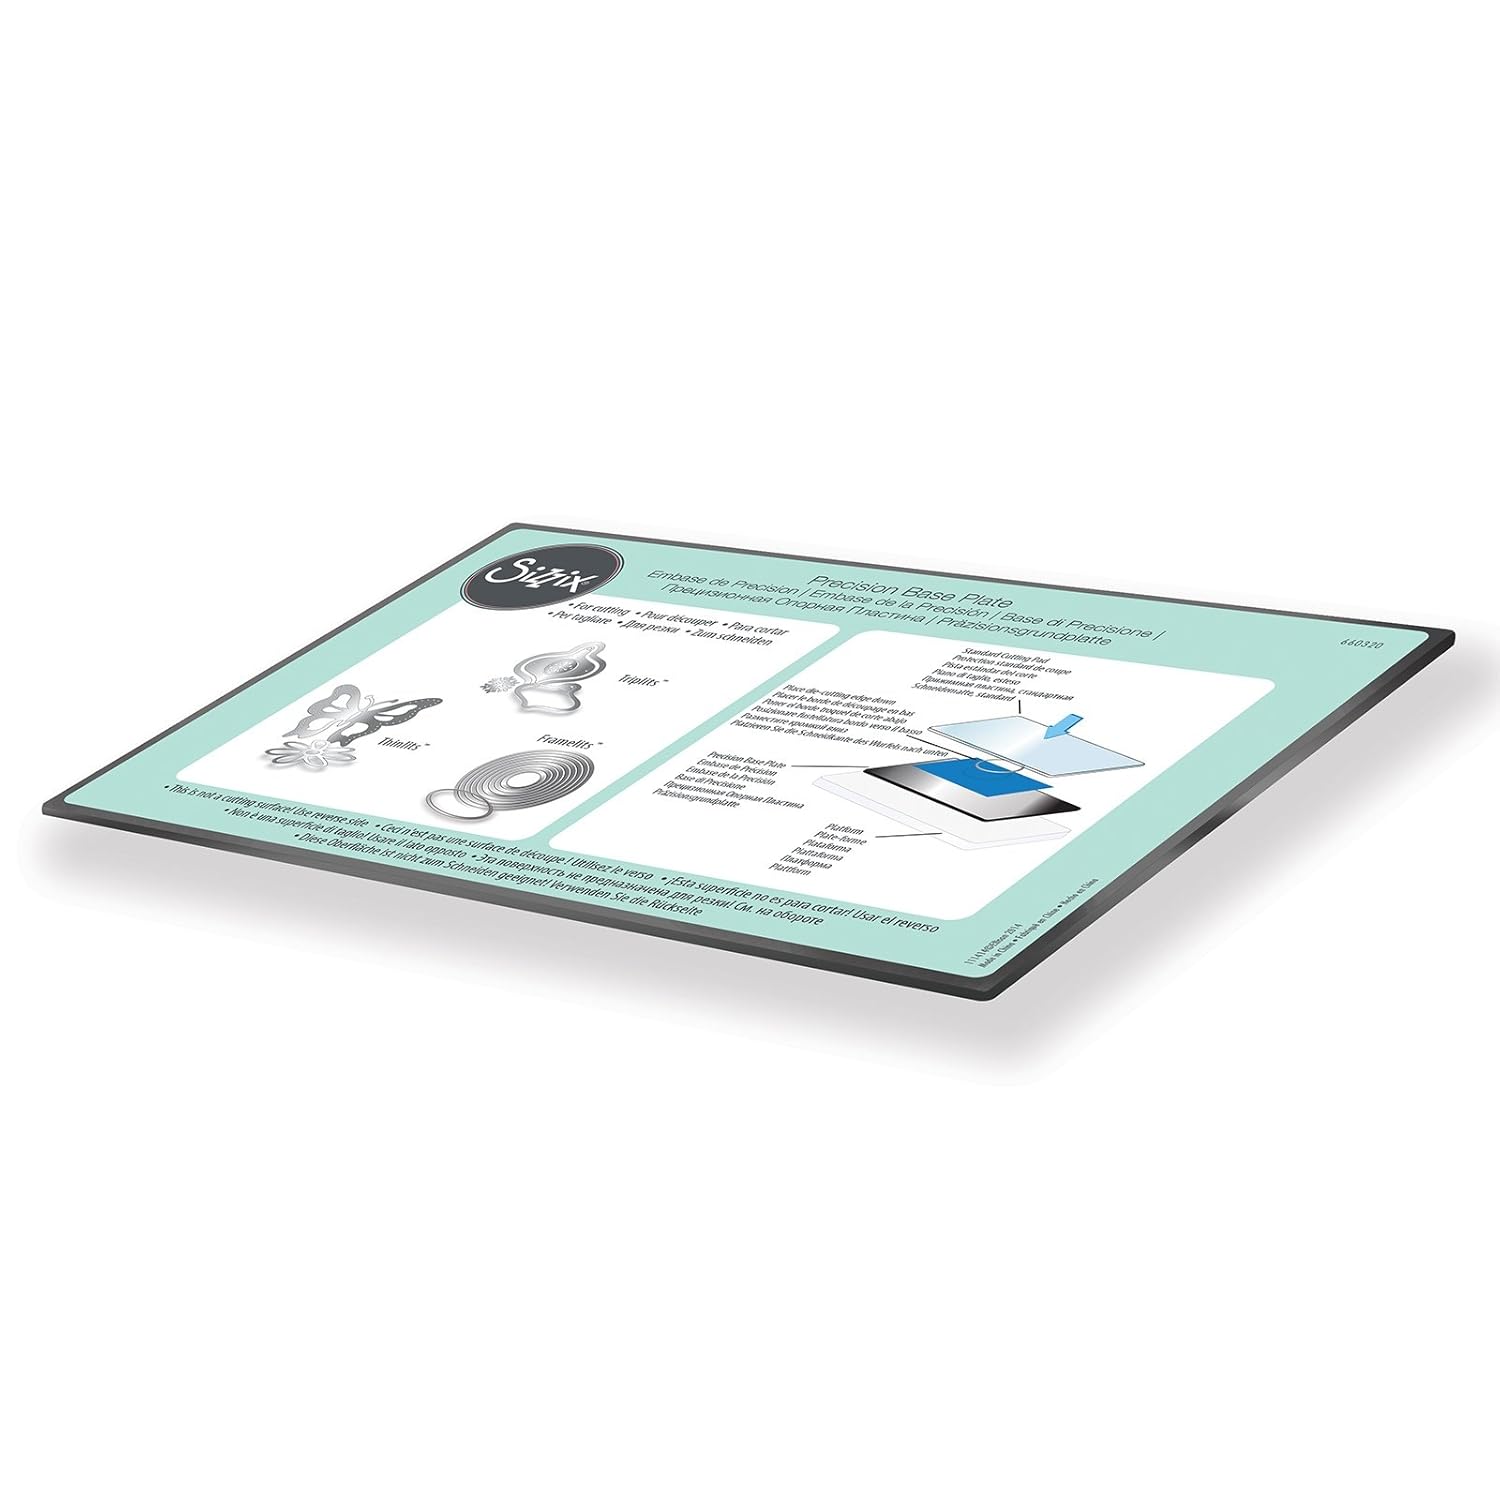
Couldn't resist taking advantage of the great weekend sales and am just loving using some of the super buys I found.  Two of my favorite new items are the Sizzix Precision Base plate.  Was amazed at the detail cuts I got from even tiny, intricate dies!  


Product Details
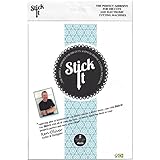
And the great buy on Stick it adhesive sheets I found on Blitsy!  (They had the best After Thanksgiving sale ever! While these might not still be available, it's always fun to check them out for great savings on crafting favorites!)  


Plus, I have a link to the Cricut Explore Cutting files I made...just remember you may have to pay a small fee if you don't have the monthly Cricut subscription or own the images I used to make these. 

I cut two pf each layer, to make matching fronts and backs. I used clear acrylic sheet to cut ovals to cover windows. Then I traced outline onto craft foam to cutout a spacer layer, cutting ithe a little smaller so it wouldn't  peek out of the sides.  Wished I had used a few more sequins, but will on next ones.  Can'the wait to make more.


Gold Ornament Cricut Cutting File ( this really is the one I used for the gold ornament, even though I picked silver colors for pic...sorry)


Silver Ornament Cricut Cutting File (and this really is the file I used for the silver ornament, even though I picked yellow colors for this pic...jeesh...)


Well I hope you have fun crafting and again, Merry Christmas and happiest of holidays to you and yours!
Molly

Sunday, November 29, 2015

Easy Tutorial Create Shadow Layers to Cut with Cricut Explore Using


Here's a video I was excited to create and share, because it how I learned to make "shadow" layers for titles and images to import into Cricut Explore Design Space and cut !  

This is a feature that the incredible team at Cricut is working on delivering for us, BUT they are also busy on creating lots of other upgrades first and I just couldn't wait.  So I piddled around with my Photoshop Elements 14 and taught myself this quick method.  


It really is so easy it felt like magic to me and I can't wait to create loads more titles for my scrapbooking, card making, paper crafting projects.  Here's a few pictures of the finished titles I made so far.  

Hope you enjoy and have a wonderful holiday season ahead!
Molly D