I have done a quick video, showing you how to cut the card base and layer the designer papers. It really is a very easy card to make, but creates a great "keep me out forever" type stand up card that is sure to make the recipient smile.
I have included the template and instructions for the base on this post. I can just imagine all the fun themes, from summer birthdays, to thinking of you, to Christmas. This style card will surely become a treasured keepsake.
Please, have fun creating your own Step Cards. It really is addictive!
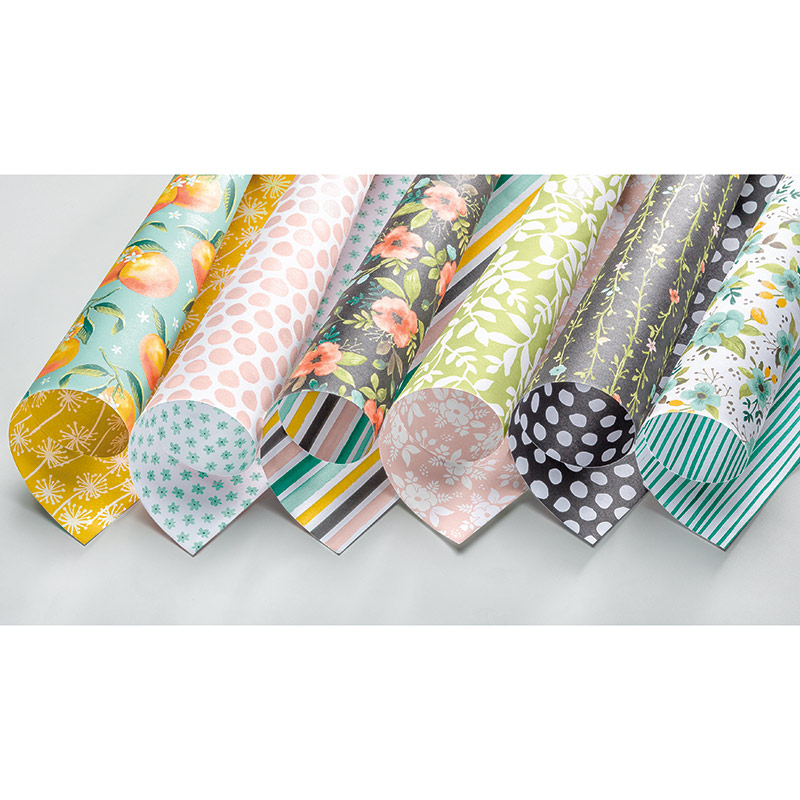
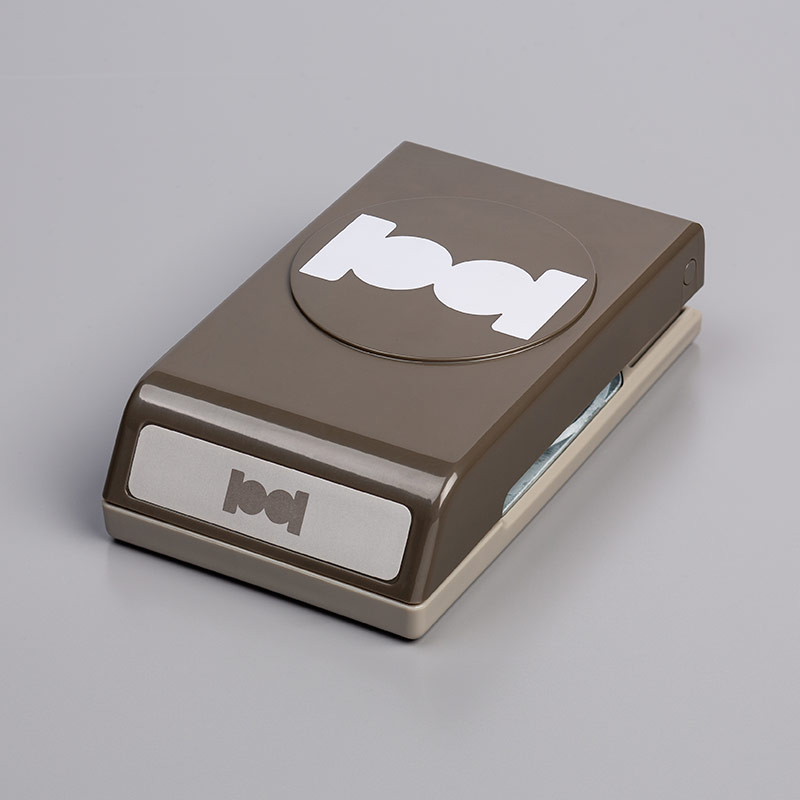
Okay, it may seem just a little over the top, but I spent a few minutes recently and made myself some Tabs for the newest Stampin Up! catalog. Using the Circle Tab Punch, I cut out the tabs for the pages that I own something on. I used Lemon Lime Twist for most. Berry Burst was used for the pages that featured papers and colors. Then, just sprinkled in a few Soft Sky for Embellishments and Ribbon pages, and Tranquil Tide for Tools and Basics Originally, I typed just the titles I owned, but retyped the set combining front and back names, since I seem to be adding all to quickly to my stash.
I got the original idea from a wonderful demonstrator's video by Connie Stewart. Her labels are very clean, organized and I love the type she used. When it came to making mine, I found I wanted a bit more info, so my labels are not as clean looking as hers, since the type sizes vary. But they are really helping me find things much quicker. Now I need to tell you, I used my Silhouette to cut mine out. I wanted to adhere adhesive backed sheets before I cut and didn't want to gum up my circle punch. Plus, I find the Silhouette got the job done in a fraction of the time. That's why the background is gray. It made it easier for me to use the trace feature for cutting. The labels are arranged on the sheet to allow room for Silhouette registration marks as well. If you use a Silhouette and would like the file, just let me know. Plus, you could change out the names you would prefer to use. Well, anyhow, I am enjoying my new tabs, and want to thank Connie for her inspiration and generosity in sharing! She has a link on her video, if you would like to download hers. Just love them!
Punches are a quick and easy way to add interest and depth to your projects. And there’s no better way to cut out stamped images—many of our stamp sets have coordinating punches. Fold over the punched-out piece to create a tab that can then be stamped on. Use tabs for organizing, gift packaging, gift tags, and more. * Our punches are high quality, affordable, and easy to use * Sleek body style * Large surface area offers precise cutting and leverage * Locks to store * Slim and stackable
The Touches of Texture stamp set from Stampin' Up! is so much fun to play with. From the sophisticated, impressionist florals to the grungy, yet delicate accent stamps, it is a very rich palette of styles that allow you to create beautiful cards with lots of depth and texture.
I had so much fun playing with these, I did a video to share just how easy it was.
This set is so large it takes two boxes to hold it. And each and every stamp in it is sure to become a favorite to be used over and over again.
Once i got started making these Thank You cards, I just couldn't stop. I used several colors including: Flirty Flamingo, Berry Burst, Daffodil Delight, Dapper Denim, Sweet Sugarplum and Calypso Coral.
I started by cutting a card base of each color. I just cut each into half, leaving me with two pieces, each 5 1/2" tall by 8 1/2" wide. Then I scored at 4 1/4" and used my bone folder to get a sharp crease.
From Very Vanilla cardstock, I cut layers for the inside of each card, 4" wide by 5 1/4" tall.
Also from the Vanilla cardstock I cut two pieces for the front of the cards.
One piece was approximately 2 3/4" wide by 5" tall. That was the layer I used to stamp the flowers and accent stamps onto. The other piece was just 1" by 3". I used the Thank You stamp from the Daisy Delight Stamp set.
Then on most of the cards I used Old Olive cardstock to cut the backing for the layers.
Those pieces would be 3" wide by 5 1/4" tall and 1 1/4" by 3 1/4" for the smaller background behind the thank you.
Each card base was first stamped in the matching color ink with floral stamps to give it a subtle print. Then the same ink colors were used to stamp the flowers and most of the grunge stamps. I did use Crumb Cake to stamp the little jumbled alphabet stamp, just to add a more grungy look on some of the cards. No two are alike. I just had fun stamping and playing with the colors.
So take a minute and enjoy the video. And be sure to visit my Stampin' Up! store. I named my store and Facebook page escapetoinspiration, and I hope this set will inspire you to just take some time to play with color and get a little inky.
I know I say it too often, but this newest set from Stampin' Up! is one of my favorites! I just love the vintage typography on the greetings And their larger size helps add a pop of fun to a card in a hurry. As an independent demonstrator for Stampin' Up! I was able to purchase the stamp and die set below it's official launch. And boy oh boy, am I glad I did.
Both of the over sized sentiments are just perfect for cards, but as a scrapbooker I love them. They will both be perfect for page titles or embellishment pieces on any holiday layout. The two different stamped background papers you see on the cards were made using some great background stamps. One is the Brushstrokes stamp and the other is the Diagonal Stripe. These two stamps are going to get a lot of mileage over the next few months. I can just see them in fall colors, copper embossing, done in dramatic ombre effects. I just can't wait to play more with these sets. I will definitely be doing some more projects and videos using these fun new additions to my stash! Please visit My Stampin' Up! store for any of your Stampin' Up! needs. The Carols of Christmas sets won't be available for just a little while yet. But that shouldn't stop you from getting ahead on making some easy and colorful backgrounds with these great background stamps.