Showing posts with label Tutorials. Show all posts

Sunday, March 10, 2019

Easy Foiling HOW TO's with the WRMK Foil Quill and Cricut

I am over the moon excited to be playing with my new We R Memory Keepers Foil Quill.  It is so easy to use and the results are just amazing! 

 I just created and couldn't wait  to share MY Foil Quill Video showing you how I made some card sentiments. 

I bought mine on the 24 hour crafting day on HSN.  They had a great price of just under $60 for the whole set.  The MSRP is $99.  With the kit, you receive the 3 different size foiling heat stylus', the adapters for your cutting machine and even some foil and low tack tape to get you started.   You can buy the different size heat pens separately, additional foil colors   and even some USB sets of artwork from WRMK.  But remember, the foiling stylus goes in place of your writing pen on your machine, so you can literally foil anything you can draw with your machine!  

The video tells you most all you need to know to get started.  I will be trying the pen out on some other heat transfer foils I have and can't wait to see what happens.  but I couldn't wait to share this with you asap.  

 I can't wait to experiment more and make layout embellisments and foil some other print and cuts.  The possibilites seem endless. 

Hope you enjoy and let me know what you think of WRMK's latest tool!
hugs, 
MOLLY D


Saturday, February 3, 2018

Stampin' Up! Barn Door Slider Card

Loved making this super easy, super fun slider card with the new Stampin' Up! Barn Door Bundle.  

Here's a simple tutorial on how I created this cutey! (supplies are listed below)


Cardbase:  Cut cardstock to 4 1/4" by 11" and score at 5 1/2" on the long side.  This will make you a side folding card.  I used Melon Mambo for my card. 

Card Interior:  Cut a piece of Whisper White cardstock to 4" by 5 1/4" and stamp with your sentiment.  I used a greeting from the Counting My Blessing stamp set in Emerald Envy.  It has been retired, but you can certainly use other sentiments you have, or leave blank and hand write a sweet note.  Adhere to inside of card.

Card Front: 
  •  Cut cardstock to 5 1/2" by 4 1/4".  Layer slider die on card, centering from side to side, but just a little closer to bottom of card than top, to give you room for the slider die cuts on the top.  
  • After you cut the openings, then run the piece thru your Big Shot or die cutting machine in the Pinewood Planks Embossing Folder. 
  • Add washer sliders:  You will need a total of 8 washers. 
    •  Lay four pieces of washers under openings, two under bottom opening and two under top opening.  Then adhere Dimensional foam pieces to washers, being careful not to adhere to paper, just washers, and attach more washer pieces to top.  Check now to make sure your washers slide easily.
    • Adhere Barn Door you have stamped and cut out to the top of the washers.  
    • Adhere door handle and slider die cuts to the front of door and long black bar die cut to top of card, placing so that  it looks like the sliders are rolling along the top of it
  • Wreath:  
    • Stamp the floral wreath in Emerald Envy, and then again in Flirty Flamingo and Melon Mambo.  Use dies to cut out wreath and flower elements.  Layer Flirty Flamingo flowers on first, then Melon Mambo single flower onto wreath.  
    • Stamp wreath with bow in a yellow ink and cut out just the bow with the coordinating die.  Adhere bow to the top of green wreath. 
    • Use Dimensional strips to pop wreath up and adhere to front of barn door.  Makes a great door pull to slide the door across card.
  • Sentiments for front of card:  
    • Using Whisper White scrap pieces, approx. 2" by 2"
    •  I used the stamps from the Barn Door set to stamp blessing in Emerald Envy and then swirls and flowers from the Beautiful Peacock Sale-A-Bration Stamp set, using Emeral Envy, Melon Mambo and Flirty Flamingo to add the floral elements.
    • Adhere to each side of card, making sure they "hide" behind door, when it is slid over them.
That's it!  You have just finished making a darling, interactive card.  Imagine this element used to hide a then and now pictures for a birthday card.  Or save the date type messages for a country themed wedding or shower.  The possibilities are endless!  Just have fun crafting memories!  


Barn Door Bundle
$42.25
Free with $50 Merchandise purchase
$10.00
$6.50
$8.00

$6.50

Friday, January 19, 2018

Brusho Crystal Colours Card Backgrounds


Now that was fun!  Just got thru playing with my new Brusho Crystal Colours from Stampin' Up! to make some quick, easy and dramatic card backgrounds.  
 To create these backgrounds I used mixed media paper from my stash.  It was so easy.  I just enjoyed experimenting with techniques.  The first ones I made I sprinkled the crystals on to dry paper and then sprayed with water.  I was a little heavy handed with the water and it created more of a wash look, which was beautiful.  But I wanted to try to keep the textured look of the crystals, so I went back after papers dried a little and sprinkled more crystals on.  That worked pretty well, as you can see in the wizard card and celebrate you peach/orange card.  
 I then just kept playing with less water and even sprinkling the crystals on to paper that I had already sprayed with water.  I can't tell you how much I enjoyed watching the colors bloom and spread, creating gorgeous effects. 
 Here are pictures of the backgrounds before stamping.  The new Brusho set from Stampin' Up! comes with five incredible colors.  But as you can see, each color has different color crystals mixed together, so the possibilities are endless.

 You can get some pretty dramatic effects by just using these.  I love how they mixed and played together.  


Here's the video of the cards!


I enjoyed using several different sets to stamp these cards.  Below is a list of the items used to create these cards:


 Brusho Crystal Colours 
 Birthday Blossom
Birthday Blossoms Clear Mount Stamps
Touches of Texture Clear Mount Stamps
Birthday Wit Clear Mount Stamps
Rose Wonder Photopolymer Stamps
Well, I hope you are having fun "crafting memories" this new year! 
Hugs,
Molly D


Thursday, July 13, 2017

Having fun with Touches of Textures Stamp Set


The Touches of Texture stamp set from Stampin' Up! is so much fun to play with.  From the sophisticated, impressionist florals to the grungy, yet delicate accent stamps, it is a very rich palette of styles that allow you to create beautiful cards with lots of depth and texture. 

I had so much fun playing with these, I did a video to share just how easy it was.

This set is so large it takes two boxes to hold it.  And each and every stamp in it is sure to become a favorite to be used over and over again.  

Once i got started making these Thank You cards, I just couldn't stop.  I used several colors including:  Flirty Flamingo, Berry Burst, Daffodil Delight, Dapper Denim, Sweet Sugarplum and Calypso Coral.  

I started by cutting a card base of each color.  I just cut each into half, leaving me with two pieces, each 5 1/2" tall by 8 1/2" wide.  Then I scored at 4 1/4" and used my bone folder to get a sharp crease.

From Very Vanilla cardstock, I cut layers for the inside of each card, 4" wide by 5 1/4" tall.
Also from the Vanilla cardstock I cut two pieces for the front of the cards. 
One piece was approximately 2 3/4" wide by 5" tall.  That was the layer  I used to stamp the flowers and accent stamps onto.  The other piece was just 1" by 3".  I used the Thank You stamp from the Daisy Delight Stamp set.

Then on most of the cards I used Old Olive cardstock to cut the backing for the layers.
Those pieces would be 3" wide by 5 1/4" tall and 1 1/4" by 3 1/4" for the smaller background behind the thank you.  

Each card base was first stamped in the matching color ink with floral stamps to give it a subtle print.  Then the same ink colors were used to stamp the flowers and most of the grunge stamps.  I did use Crumb Cake to stamp the little jumbled alphabet stamp, just to add a more grungy look on some of the cards.  No two are alike.  I just had fun stamping and playing with the colors.  

So take a minute and enjoy the video.  And be sure to visit my Stampin' Up! store.  I named my store and Facebook page escapetoinspiration, and I hope this set will inspire you to just take some time to play with color and get a little inky.

Have fun crafting!
Molly D


Tuesday, June 27, 2017

Easy Watercolor Background Techniques using Stampin' Up! Inks


Oh my gosh golly, I have been having too much fun playing with all the new inks and colors from Stampin' Up!  And while I love these great products, these techniques would probably work with other die based inks.  Just want to warn you, it's pretty addictive.  And you may get a little color on yours hands...of course, I consider that an added bonus, lololol.
So, anywho, here are a few closeups of some of the cards I made with the backgrounds. The how-to video is posted above.  I loved using the rich inks from Stampin' Up!.  The colors are so vibrant and intense.  I hope you enjoy. 

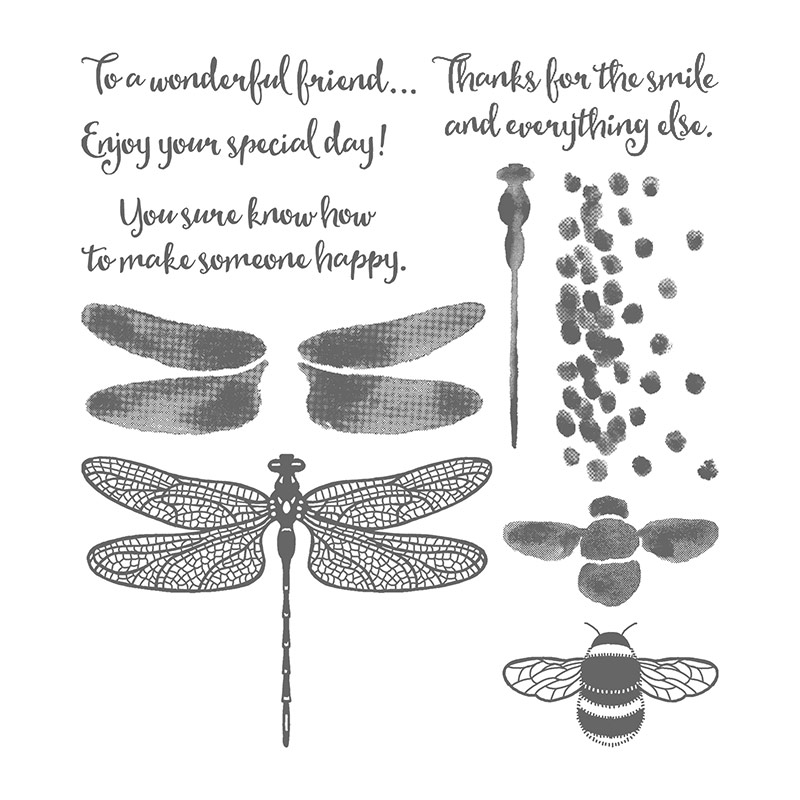
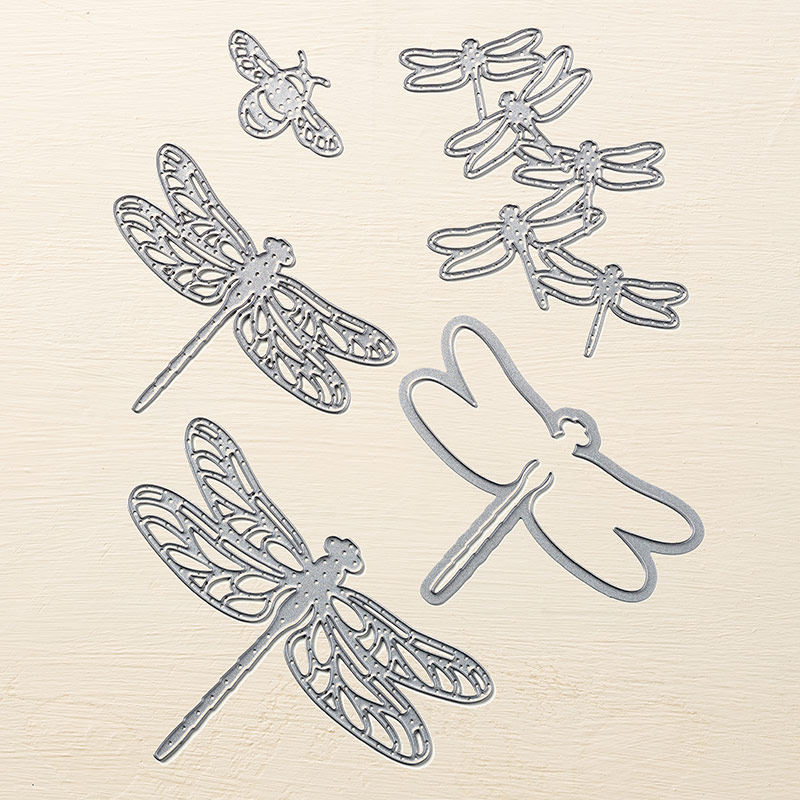
Dragonfly Dreams Photopolymer Stamp SetDetailed Dragonfly Thinlits DiesThe gorgeous dragonflies you see on several of the items are made with the gorgeousDetailed Dragonfly Dies and Dragonfly Dreams Stamps.  I just love using these.  I haven't even played with largest one or the bee yet!  Just can't wait!


And if you are interested in any of these items, be sure to visit my online store HERE.


 So, as always...have fun crafting!


Saturday, June 24, 2017

 I made two quick and easy Z Fold cards yesterday, using the Big on Birthday Stamps and Delightful Daisies Designer Series Papers.  Just wanted to share with you how super duper easy making fun fold cards can be. I've attached the video so you can see just how simple making these cards is!

This fold is one of the easiest I have seen, yet lets you use bits and pieces of designer paper, to give it a "wow" impact.  And even as easy as this it to make, the fold and surprise reveal gives it a pop of fun for the receiver.  


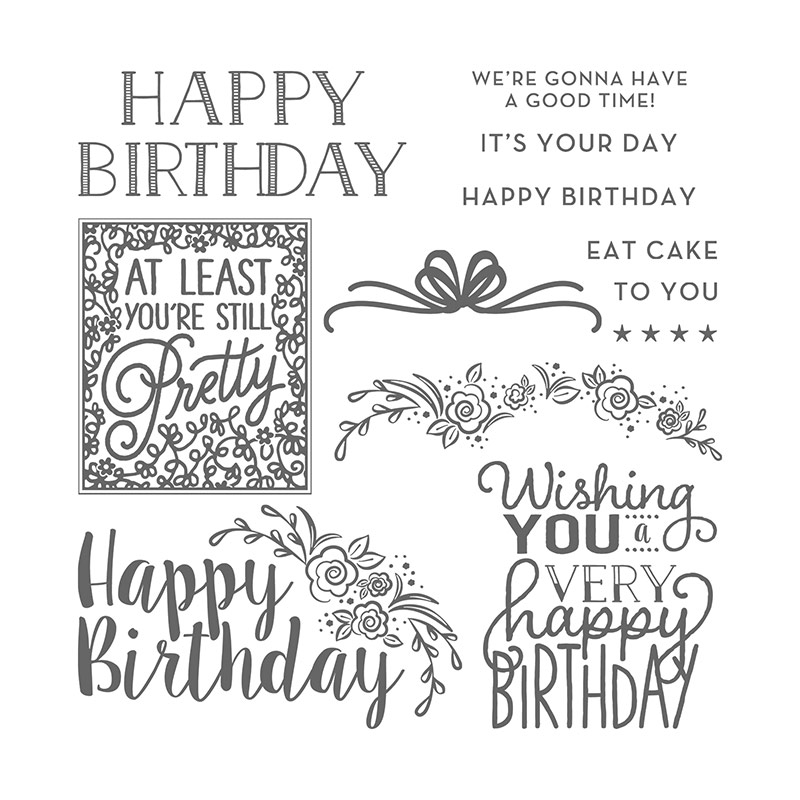
The Stamp set, Big on Birthdays, is super fun and
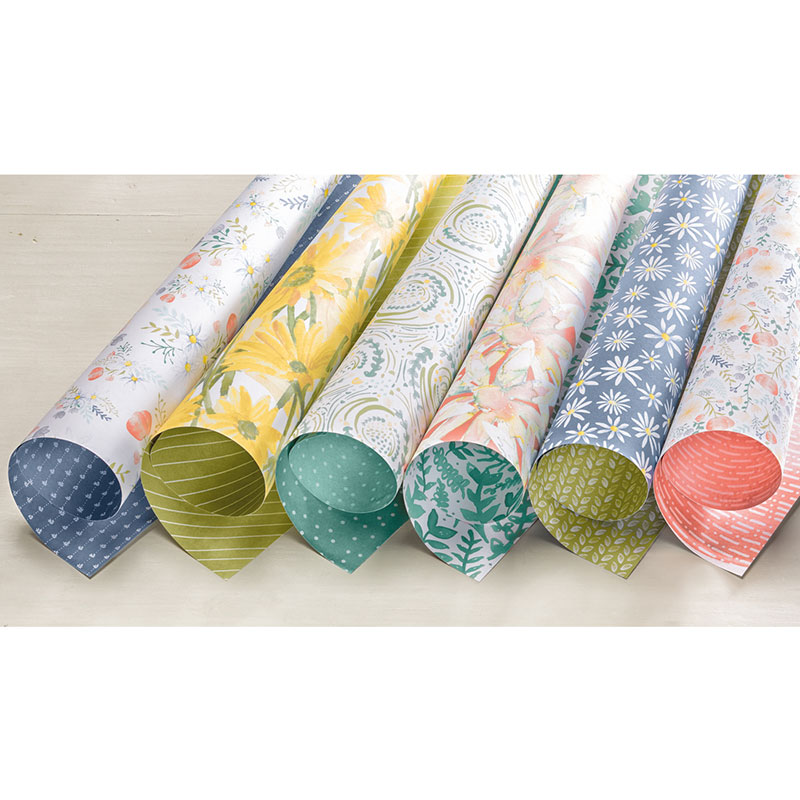
Big On Birthdays Photopolymer Stamp SetDelightful Daisy Designer Series Paperjust as the name implies, has big, bold stamps that pack a punch.  But, it also has great smaller stamps to round out your birthday message. See it in the catalog HERE!

And if you haven't already seen the gorgeous new Delightful Daisies papers, here's a quick peek.  Be sure to check out the great collection HERE!

Collection has great papers, stamps and an incredible punch that you will love!

I hope you enjoy making some fun, fancy fold cards and be sure to Follow and Like my Facebook page  HERE!

Thank you so much for stopping in, and as always...have fun crafting!


Sunday, May 7, 2017

May Happy Planner Labels with Watercolor Florals

 Well, I'm trying to take my own advice and learn something new everyday.  

These may just look like ordinary Happy Planner labels to you, but to me they are something I learned how to do today.  I had been wanting to make some planner labels that were not just rectangular, but I love putting quotes and "talking to myself" motivational ramblings in my planner.  So I decided to up my game a little and teach myself how to think "outside of the box".  

Of course I am still having so much fun discovering and playing with all the beautiful florals from the bundle I bought from Creative Market recently.  So I used those as the starting point, along with my Silhouette and created these really rather easy labels. 


I hope you can see in the pictures how the florals spill out over the borders of the boxes.  No, I didn't fussy cut them, I let the Silhouette do all the work.  Okay, all the work after I designed them.  And that was where the learning something new came in.  

Here's a tutorial I did showing how I created these:


I posted below, some screen shots of the Silhouette mats with and without the cut lines to show you how I laid them out.  I do have a wide format printer, so I was able to use 12 x 12 paper, but you could just as easily lay them out on an 8 1/2 by 11 format.


Here's the layout without the cut lines and below is the screenshot of the layout showing where the cut lines will be.
Have fun creating today!  And learning something new!
Molly


Tuesday, May 17, 2016

New Summer Freebie Planner Stickers and Silhouette Cameo Tutorial


Well I was back at it all day Monday! Making new stickers for my Happy Planner.  Inspired by the incredible freebies from My Planner Envy.  This very gifted designer shares her planner stickers with us and I love her style.

So inspired by Jessica's stickers, I set out to create some of my own.  Using color stories I snagged from Design Seeds.  This is one of my favorite places to go to find exciting color harmonies that I can use.  

{ flora hues } image via: @c_colli: Here's the Design Seeds picture that inspired these first set of stickers.  I just used the color picking eye dropper on the Silhouette Cameo Fill screen and "picked" the colors I wanted right from the picture.  Then I added text and some darling graphics from Creative Market.  This is a wonderful  sight that offers great buys and lots of freebies on fonts and graphics.   


So after I was happy with this first set, I got to work on a second set inspired by a more beachy bright collection. 

I mention the website: 
The Hungry Jpeg
I love going to this sight to pick up incredible bundles.  Loaded down with fonts and graphics, they really kickstart my creativity.  Plus, most of the sets in the bundles are commercial liscenses.  A big plus for such a little price!  

Here's a picture of the latest bundle I bought.  Look at all those wonderful watercolor graphics and great fonts!  Can't wait to play with them all...


Below, I posted the quick video I did on some of the steps to get you started creating your own with the Silhouette design space.   So easy and so much fun!


Just right click on the photos to download a copy for your personal use if you'd like.  And have fun creating!  

Molly

Saturday, May 14, 2016

Easy Tutorial for Making "Font Frame" Embellishments with Silhouette Cameo


So it's been less than a month since I received my Silhouette Cameo.  But let me tell you it's love at first cut!  I just uploaded a quick and easy tutorial.  

I am helping a friend finish her wedding album from over 30 years ago and wanted to use as many Anna Griffin pretties as I could.  Well that's where the fun started.  
I have dozens and dozens and more of Anna Griffin sentiment stickers left over from card kits I have bought.  But... they have sentiments like...with deepest sympathy, congrats on your new baby, get well soon...not exactly perfect for a wedding album.  So the challenge was: could I use my Silhouette Cameo, with our without Photoshop Elements 14 to recreate them into something just perfect for Pam's beautiful album?

And the answer is absolutely Yes!  

So if I could do this, could I make titles with Cameo that had that same timeless elegance that Anna Griffin is so loved and known for?  Again the answer is Yes!  I just used the Cameo Design screen, typed in some frames using specialty dingbat fonts, typed in the sentiment, made offset layers and voila ... coordinating titles.  And of course I couldn't stop there.  I had so much fun making sentiment stickers for greeting cards to cover up even more of the sentiments I wouldn't be using.  
Here's the video of how I did this so easily with the Cameo.  Below that is a list of fonts you might want to use if you are going to give this easy method a try.  


 Here's the updated video......

Easy Tutorial for making "font Frame" titles and embellishments with Silhouette Cameo


Fonts for Frames:
Vintage Frames by Sughayer Foundry
Calligraphic-frames-soft font by Intellecta
Kg-flavor-and-frames font by Kimberly Geswein

but enjoy a few minutes and head over to Dafont.com , search for frames or dingbat fonts and you'll find lots of fun sets, including some this pennants and flags!

Well I hope you enjoy this method, give it a try and keep sharing ideas.
Have fun crafting!
Molly D

Tuesday, May 10, 2016

Freebie Happy Planner Stickers and My new Silhouette Cameo

Flowers used on these labels are
from the pixeledpaperdesigns available on etsy
 I am so over the moon happy!  I got a new Silhouette Cameo!  Now those of you who know me, know I have a Cricut Explore and love love love it.  

So why buy a Cameo?  I make scrapbook layouts alot and like making titles with shadows.  Plus, I love making planner stickers to share and lots of other "print then cut" designs to use as layout and card embellishments.  But my Cricut was falling a little short on these two fronts.  

But did these two "needs" actually justify spending over $250 on a new machine?  Well, a good friend of mine has a Cameo and shared it with me to play with.  I fell head over heels, but told her unless I could find one under $200 it was out of the questions.  Then, the very next day,  really, the very next day...HSN listed a cameo for $188.  It had to be a sign from Heaven, right?  So I now own my Cameo.  

Here's my take on the advantages and disadvantages of each of these two wonderful cutting machines:


Cricut Explore:

  • Makes deep cuts, letting you use a wide range of materials to cut. Cameo does not cut as deeply.
  • Design Space is a breeze to use.  Learning curve for first time users is short.  
  • It is internet only accessible, which can be limiting at crops or any place there is no internet access.
  • Cricut team is very energetic and friendly, offering great support if ever needed.
  • Faster and quieter than Cameo.
Artwork used on these stickers were from
graphic bundles from thehungryjpeg
and poppymoondesigns
  • Print then cut is easy to use, but eats up a lot of paper, because Cricut has print area limited to around 8" by 6", meaning you use waste about half a sheet of paper every time you cut.
  • Editing tools are somewhat limited.  Easy to use what is there, and easy for beginner or intermediate level crafters, but limiting for advanced editing.

Silhouette Cameo:  

  • Let's you create shadows or offsets very easily.  Cricut is working on this feature, but has been for quite a while.
  • Print then cut is very easy and lets you use almost all of a sheet of paper, including 81/2" by 11" and even up to 12" by 12".  I have a wide format printer so this is wonderful.
  • Editing tools are wonderful.  Instead of using other digital editing programs like Photoshop, I can do most of my creating and editing right on the Cameo design screen
  • With the upgrade to Designer Edition you can easily cut any SVG you upload and can even convert your work to rhinestone templates in a few very very easy steps.

The two set of Planner stickers I am showing here were cut on the Cameo.  The top one, pinks and aqua, was created in Photoshop Elements, then uploaded and cut with the Cameo.  The second set was created completely on the Cameo mat, using the Design screen.  OMGeeeeee, for me, this is a huge wow!  

Here are my planner layouts using these stickers...


Well, back to playing with my machines.
Have fun crafting!


P.S. here's the video I did showing these quick and easy planner stickers!


Molly 

(If you right click on the pictures of the stickers I made, you should be able to save and print for your own personal use.)